Creating an autoexec
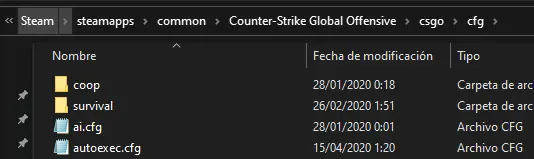
We will have to create an empty file named autoexec.cfg and place that file inside our CFG folder:
C:\Program Files\Steam\steamapps\common\Counter-Strike Global Offensive\csgo\cfg
Easily opening the CFG folder
To quickly open the folder, you can use the Windows + R shortcut to open the Run dialog and then paste the following path:
C:\Program Files\Steam\steamapps\common\Counter-Strike Global Offensive\csgo\cfg

After creating the file, we must edit it and add the host_writeconfig command at the end of our file such that our settings from the autoexec get written to the game’s config file.
You can copy and paste the following code to the end of your autoexec.cfg.
host_writeconfig                    //Store current settings to config.cfg
clear                               //clear the console output

echo "autoexec.cfg loaded, GLHF"    //write to the console
CFG files can be run from the console using the exec command.
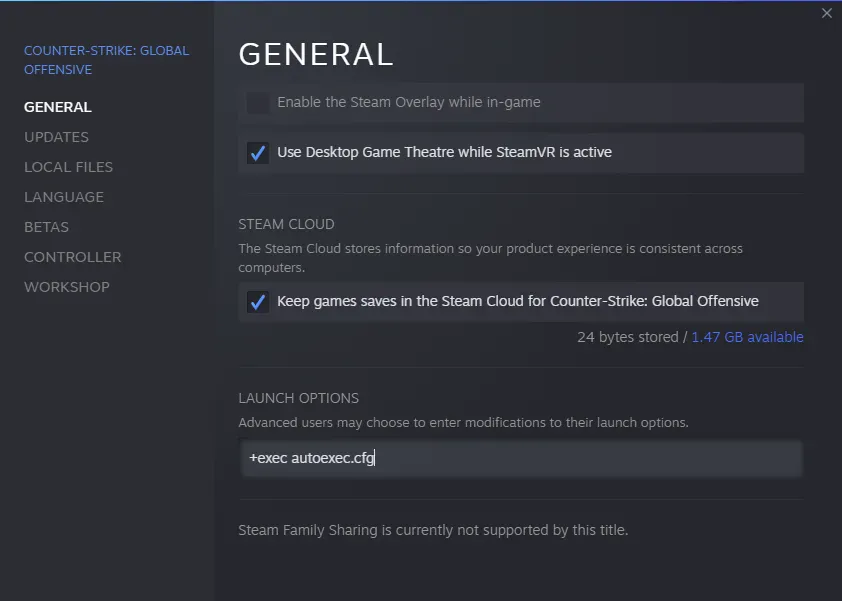
Enabling the Autoexec
In order for the autoexec to be loaded we must add the following launch option to our game: exec myautoexec.cfg
To run the autoexec file every time you open CS
- Go back to your Steam Library and find CS.
- Right-click on CS and select “Properties.”
- Under “General” there should be an option called “Launch Options.”
- Type in “exec autoexec.cfg” and close the window.